


Photo by Micah Williams on Unsplash
Django REST Framework JWT Token Authentication Tutorial
React and Django Authentication Series - Part 2


In this tutorial, I will teach you how to implement token authentication in Django using JWT. This tutorial assumes you have basic knowledge of Django serializers and views.
In the last part, we created a custom user model and an admin panel for seeing and editing our users.
Let's start by looking at a quick overview of what token authentication is.
What is JWT Token Authentication?
A JWT or JSON Web Token is an authorization token that contains information in an encoded format.
In an authentication system, a user would send their username and password to the server and they would receive access and refresh tokens in return.
The access token usually expires in around five minutes, while the refresh token has a much longer lifetime, it could be from a day to weeks.
In every request we make we pass the access token from the user, and every time our token expires we will send a request with our refresh token to get a new one.
User Registration
Now we can start by creating a serializer for registering our users. Create a new file called serializers.py in the accounts folder. Now we can add the user registration serializer.
# accounts/serializers.py

from django.contrib.auth.password_validation import validate_password

from rest_framework import serializers

from .models import CustomUser

class CustomUserSerializer(serializers.ModelSerializer):
    email = serializers.EmailField(required=True)
    username = serializers.CharField(required=True)
    first_name = serializers.CharField(required=True)
    password = serializers.CharField(
        write_only=True, required=True, validators=[validate_password])
    password2 = serializers.CharField(write_only=True, required=True)

    class Meta:
        model = CustomUser
        fields = ('email', 'username', 'password', 'password2', "first_name")

    def validate(self, attrs):
        if attrs['password'] != attrs['password2']:
            raise serializers.ValidationError(
                {"password": "Password fields didn't match."})

        if CustomUser.objects.filter(username=attrs['username']).exists():
            raise serializers.ValidationError(
                {"username": "User with this username already exists."})

        if CustomUser.objects.filter(email=attrs['email']).exists():
            raise serializers.ValidationError(
                {"email": "User with this email already exists."})

        return attrs

    def create(self, validated_data):
        password = validated_data.pop('password', None)
        password2 = validated_data.pop("password2", None)
        # as long as the fields are the same, we can just use this
        instance = self.Meta.model(**validated_data)
        if password is not None:
            instance.set_password(password)
        instance.save()
        return instance
Let's explain what is happening here.
    email = serializers.EmailField(required=True)
    username = serializers.CharField(required=True)
    first_name = serializers.CharField(required=True)
    password = serializers.CharField(
        write_only=True, required=True, validators=[validate_password])
    password2 = serializers.CharField(write_only=True, required=True)

    class Meta:
        model = CustomUser
        fields = ('email', 'username', 'password', 'password2', "first_name")
First, we are declaring all our fields and we are specifying which ones we are going to pass to the serializer.
def validate(self, attrs):
        if attrs['password'] != attrs['password2']:
            raise serializers.ValidationError(
                {"password": "Password fields didn't match."})

        if CustomUser.objects.filter(username=attrs['username']).exists():
            raise serializers.ValidationError(
                {"username": "User with this username already exists."})

        if CustomUser.objects.filter(email=attrs['email']).exists():
            raise serializers.ValidationError(
                {"email": "User with this email already exists."})

        return attrs
Now we are overriding the validate method of the serializer to check a few things.
We first check that the passwords match, then we make sure there is not already a user with this username, and finally, we do the same for the email.
def create(self, validated_data):
        password = validated_data.pop('password', None)
        password2 = validated_data.pop("password2", None)
        instance = self.Meta.model(**validated_data)
        if password is not None:
            instance.set_password(password)
        instance.save()
        return instance
The last step is to override the create method to set the password for the user.
We can now create the registration view.
# accounts/views.py

from rest_framework.decorators import api_view
from rest_framework.response import Response
from rest_framework import status

from .serializers import CustomUserSerializer

@api_view(['POST'])
def register(request):
    serializer = CustomUserSerializer(data=request.data)

    if serializer.is_valid():
        user = serializer.save()
        return Response(status=status.HTTP_201_CREATED)
    return Response(serializer.errors, status=status.HTTP_400_BAD_REQUEST)
With this view, we are passing the data in the request to the serializer. Then, we check if the serializer is valid and we save the user to the database.
Create a urls.py file in the accounts folder and add the URL for the view we just created.
# accounts/urls.py

from django.urls import path
from . import views

app_name = "accounts"

urlpatterns = [
    path('register/', views.register)
]
Now we have to add the accounts URLs to the main urls.py file.
# django_react_auth/urls.py

from django.contrib import admin
from django.urls import path, include

urlpatterns = [
    path('admin/', admin.site.urls),
    path('accounts/', include("accounts.urls"))
]
Obtaining and Refreshing Tokens
Let's now shift our focus to implementing token authentication. First, we will add the TokenObtainPairView and TokenRefreshView to our urls.py file.
# accounts/urls.py

from django.urls import path
from . import views
from rest_framework_simplejwt.views import TokenObtainPairView, TokenRefreshView

app_name = 'accounts'

urlpatterns = [
    path('register/', views.register),
    path('token/', TokenObtainPairView.as_view(), name='token_obtain_pair'),
    path('token/refresh/', TokenRefreshView.as_view(), name='token_refresh'),
]
As you can see, these views already come with the Simple JWT package, so we just have to hook them up to our URLs.
Now we need to add some configurations in our settings for this to work.
REST_FRAMEWORK = {
    'DEFAULT_PERMISSION_CLASSES': [
        'rest_framework.permissions.AllowAny',
    ],
    'DEFAULT_AUTHENTICATION_CLASSES': (
        'rest_framework_simplejwt.authentication.JWTAuthentication',
    )
}
This will tell the REST framework what are the default permissions for each view and which authentication system should it use.
We also need to configure our JWT tokens.
SIMPLE_JWT = {
    'ACCESS_TOKEN_LIFETIME': timedelta(minutes=60),
    'REFRESH_TOKEN_LIFETIME': timedelta(days=10),
    'ROTATE_REFRESH_TOKENS': True,
    'BLACKLIST_AFTER_ROTATION': True,
    'ALGORITHM': 'HS256',
    'SIGNING_KEY': SECRET_KEY,
    'VERIFYING_KEY': None,
    'AUTH_HEADER_TYPES': ('JWT',),
    'USER_ID_FIELD': 'id',
    'USER_ID_CLAIM': 'user_id',
    'AUTH_TOKEN_CLASSES': ('rest_framework_simplejwt.tokens.AccessToken',),
    'TOKEN_TYPE_CLAIM': 'token_type',
}
Here we are just adding some default settings. For testing purposes, we will set the access token lifetime to an hour, but in production, you should set it to around five minutes.
Testing in Postman
That is all for the code, now let's test our endpoints. For this, we are going to use a software called Postman, which is just a tool to test APIs without having to build an entire frontend.
You can install the Postman desktop app or use the web version. Postman website
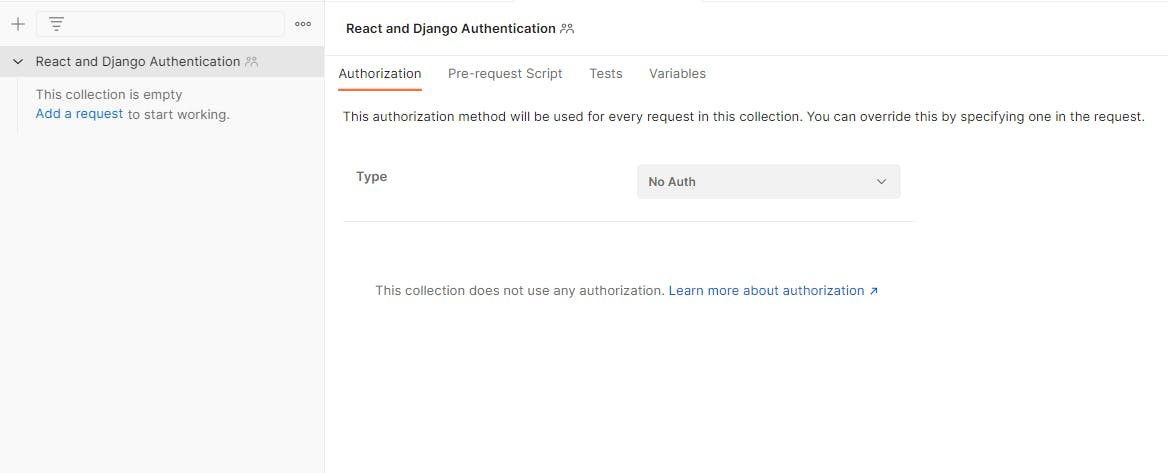
Let's start by creating a new collection for our application.
Now we can make a POST request to our registration endpoint.
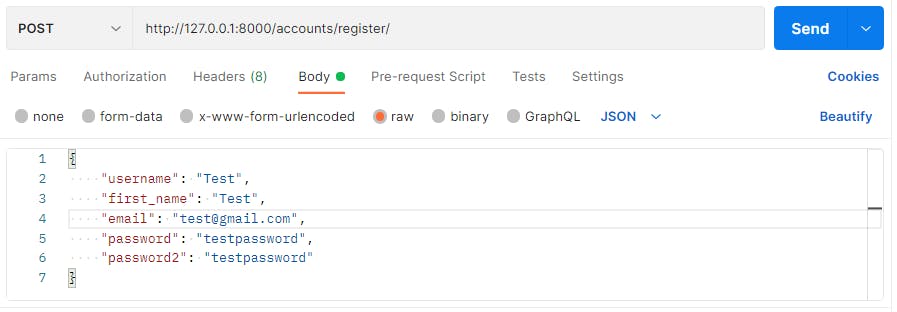
We are passing our user's data in a raw JSON format to the request. Let's now send the request.
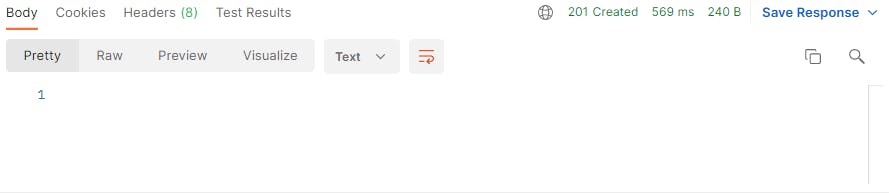
As you can see we get a 201 response which means that the user was created.
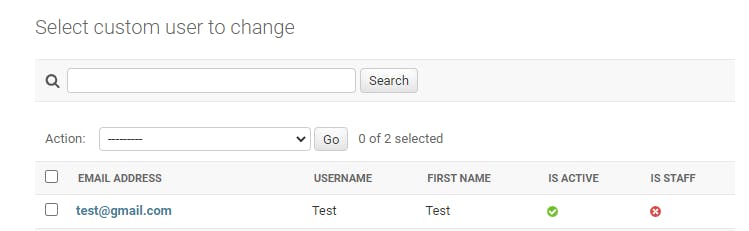
To verify this, we can go to our admin panel to check our users.
Now let's test our login endpoint.
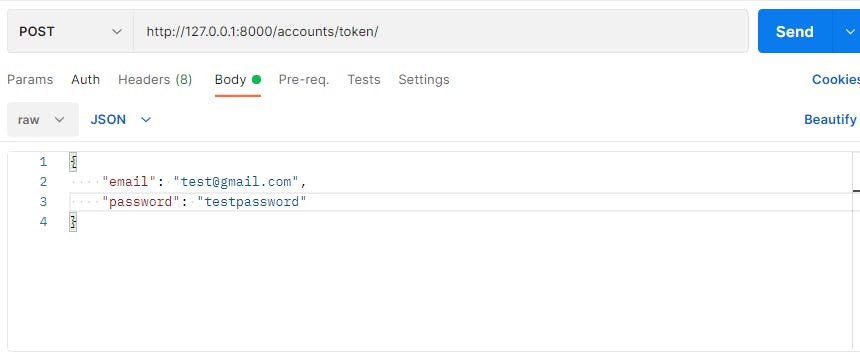
In this case, we are just sending our email and password to get our tokens.
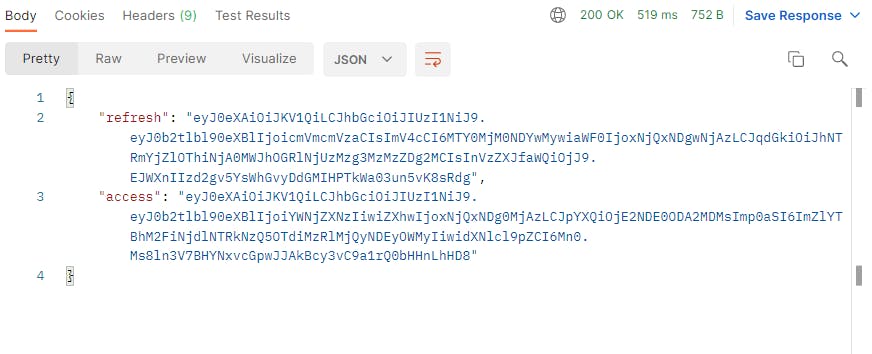
In the response, we get our access and refresh tokens.
Finally, let's check the refresh token endpoint.
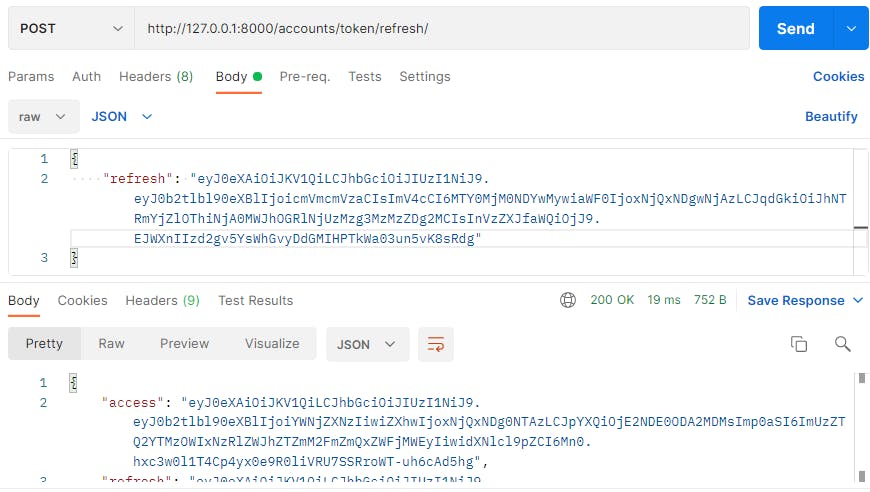
For this, we just pass the refresh token we received from the login endpoint, and we get new access and refresh tokens.
Conclusion
In this tutorial, we implemented a JWT token authentication system for registering and logging in users to our application. Now we need to build a frontend that can access these endpoints and save the user's tokens. We will start implementing that with React Js in the next part.
Thank you for reading, feel free to leave a comment if you have any questions.